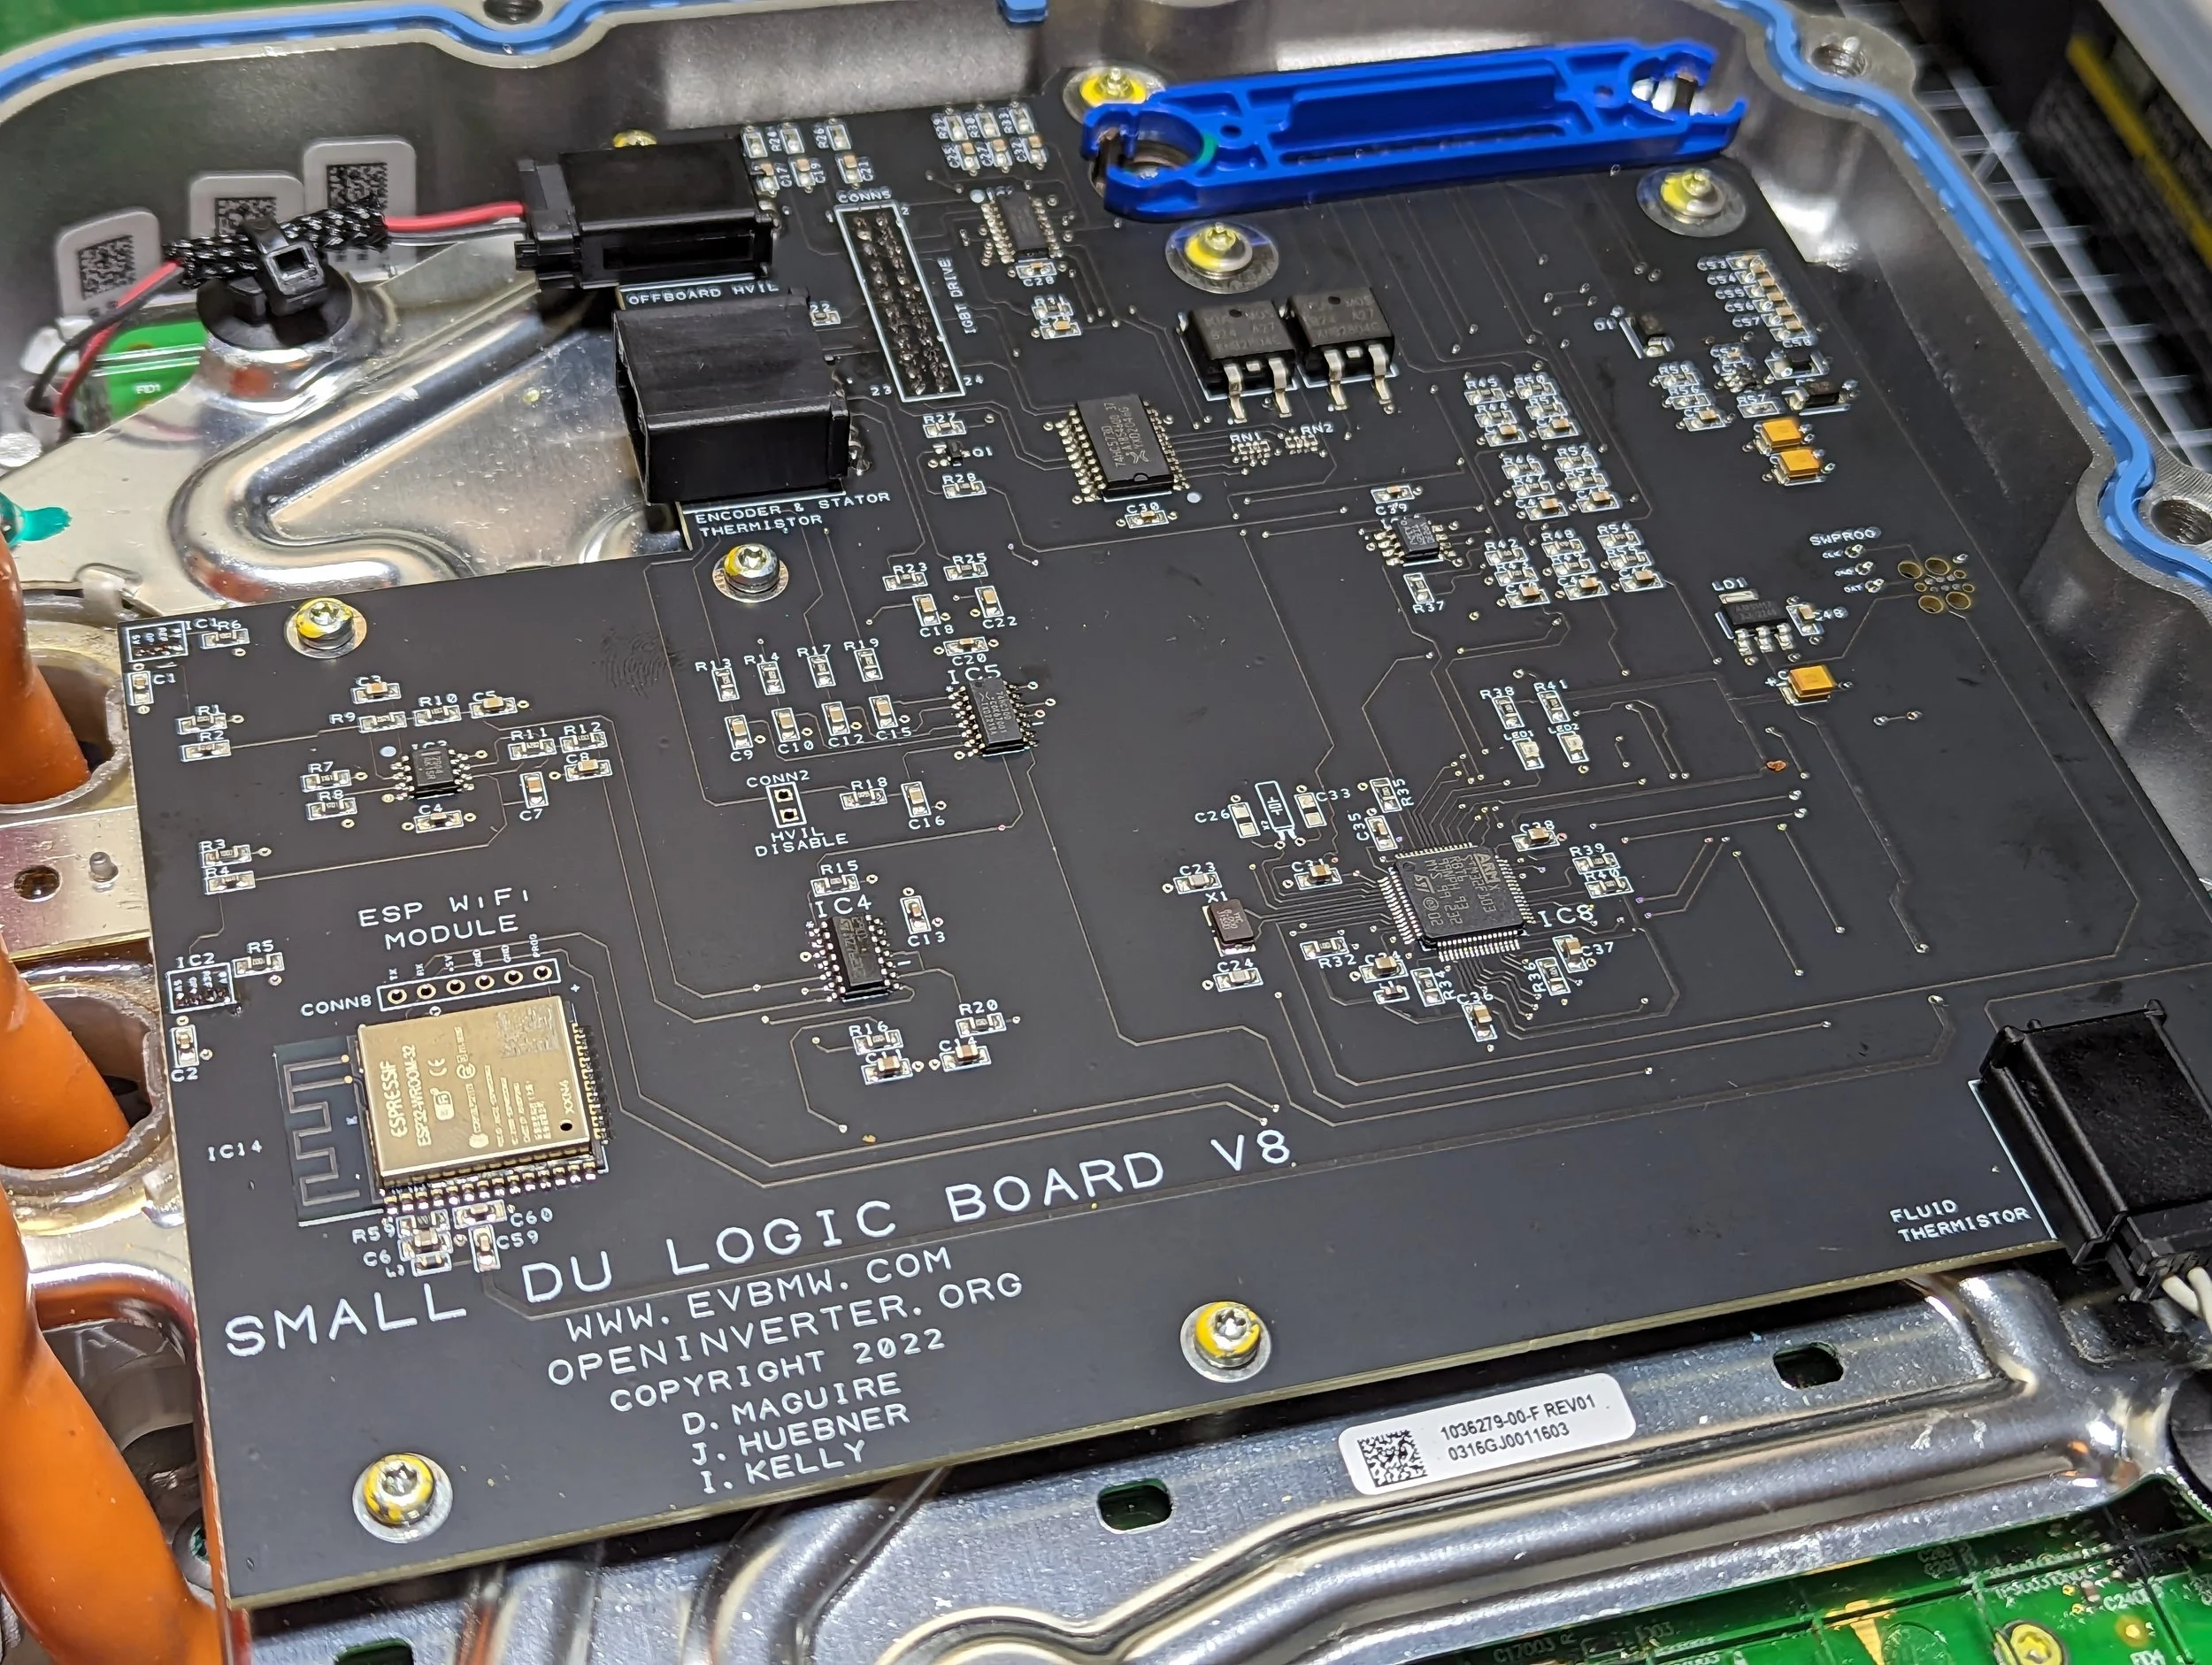
Tesla SDU Openinverter Logic Board Basic Kit
FREE Shipping within the USA
Includes:
Openinverter Logic Board
Two New Current Sensors
Applications
This product is for use in non-Tesla vehicles only. It will not work if installed in a Tesla vehicle.
This board unlocks any non-Raven 2012-2020 Tesla Model S/X Front or Rear small drive units.
Logic Board
All components and connectors (aside from the current sensors) have been fully assembled and tested with the latest firmware and default parameters. Once installed, you can access the inverter parameters via an easy-to-use web interface to tune the motor for your application. SDU boards supplied by Westside EV have been slightly modified so that the plastic MX150 connector fits the board better to avoid breaking off the little leg protruding from the bottom of the connector.
Openinverter boards also feature onboard ~5kW charging, so you don't need to buy and integrate a separate onboard charger if fast charging is not required!
NOTE: Installation is not for beginners! - Requires soldering delicate current sensors and moving fragile plastic parts from the old board to the new board. Watch this comprehensive install video for guidance.
Current Sensors
Two new Melexis 7.3mV/mT current sensors are included. You may want to reuse the existing sensors, but removing them without damaging them can be challenging. Watch the install video linked above to see how to unsolder them from the OEM logic board.
If you want to use the new sensors, the existing sensors must first be removed from the potting compound in the sensor rings. You can lever them out with a plastic trim tool while they're still soldered to the OEM logic board. They should pop out of the potting compound without too much effort, leaving behind two small holes. Clean the holes up as needed to make room for the new sensors. Insert the new sensors through the Openinverter logic board, ensuring they are correctly oriented (do not solder yet). The 45-degree angled side should point away from the board. Hold them in place with one hand so they don't fall out of the board while carefully placing the Openinverter logic board onto the inverter, ensuring the connector is fully connected. Secure the board with a couple of screws. Now, push the sensors all the way down into the holes in the potting compound until they are fully seated, then solder them in place. Be sure to trim down the protruding sensor leads to avoid them bending and shorting out.
50% of all new logic board profits go directly to the original developers. By purchasing this bundle, you're not just getting a great deal, but you're also contributing to the ongoing development and innovation of the Openinverter community. Thank you for helping support the creators who make it all possible! 🚀
All boards are verified to be working before shipping. Be sure to read the Openinverter wiki to get up-to-speed as much as possible first, but feel free to contact us for installation guidance or troubleshooting if needed. If a board is determined to have any defects or damage during shipping, we will replace it at no cost. You can also utilize the Openinverter community forums or purchase support hours via the Openinverter webshop for personalized troubleshooting specific to your project.


